Hang Glider Site Planning
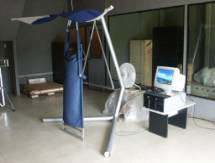
There are two versions of the glider: one with an additional
screen and one without this screen. The version with screen
is more interesting because other users can see and hear
what is going on in the simulation. But this version requires
more space.
 |
 |
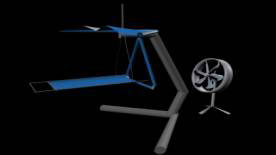
| Version without screen |
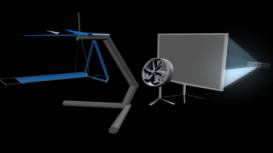
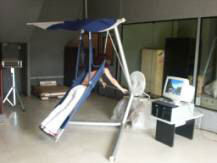
Version with screen |
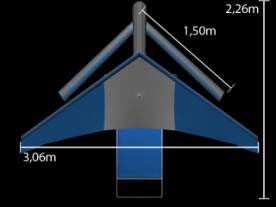
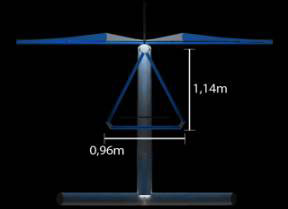
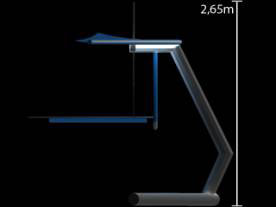
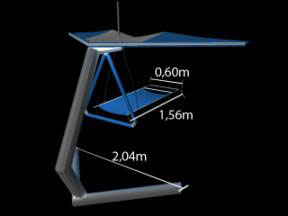
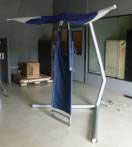
1. Dimensions
| The Hang-glider dimensions: |
 |
 |
 |
 |
| Screen dimensions |
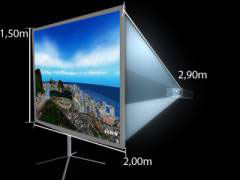 |
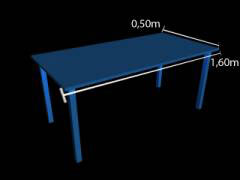
| Table for Computer and other
Devices |
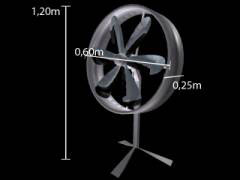
Electrical Fan |
 |
 |
| Complete
System fits in 6m x 4m* |
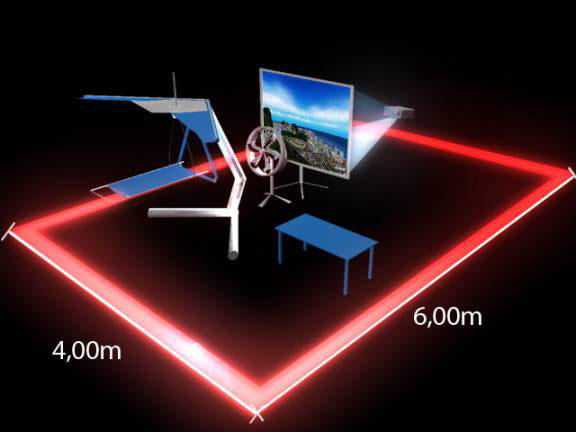 |
| * It is recommended that
some free space is left available at the sides and front
for the formation of lines and also so that people passing
by can stop and watch while others experience the demo
(more details in People Section) |
2. People
The hang glider supports only one person at time but the
version with a screen and speaker in front of the glider
allow other people to see what is going on.
| Complete
Installation fits in 7m x 5m |
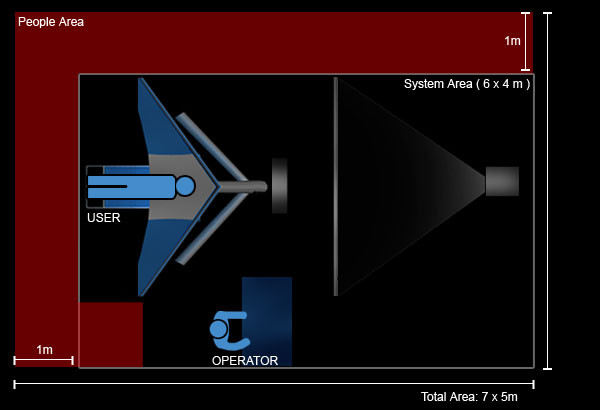 |
| It is recomended one aditional
meter in each side for public circulation ( red area
) |
There is a clock in the screen that defines the flight
duration. It can be adjusted to any time. The default ride
takes 4 minutes. The time to change between users is about
1 minute
3. Weight
| without User: |
~ 70kg |
| computer: |
~ 40kg |
|
4. Set-up
The set-up time is about 5 hours. This set-up consist in
assemble all the parts of the glider, connect the computer
and devices, and calibrate the glider with the application.
Set up procedure:
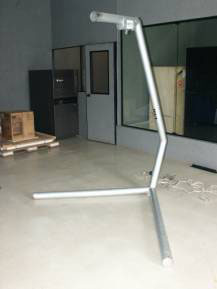
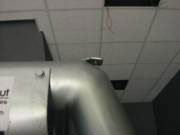
| Step 1 - Positioning
the glider |
 |
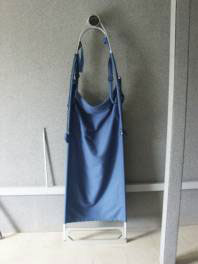
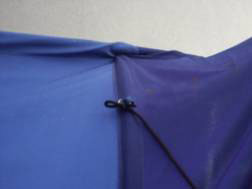
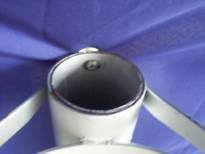
| Step
2 - Putting the hang stripe |
 |
 |
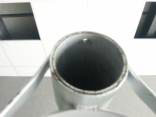 |
| Connect the hang strap to the top of
the gliders frame. There is a hole in both parts that
must coincide for the scull |
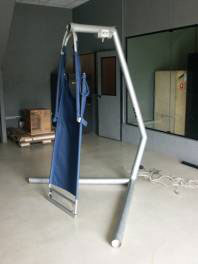
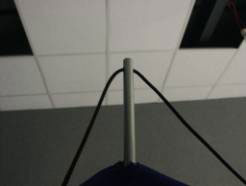
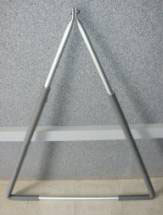
| Step 3 - Putting
the wings |
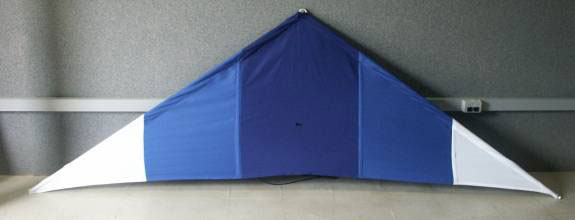
This is the wing. It is connected with
the gliders frame by a screw. |
 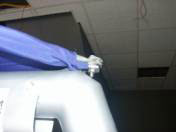  |
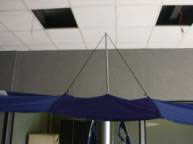
After putting the wings, you have a string
to raise the middle area of the wing.
Tide the string in the handles cross the metal stripe
|
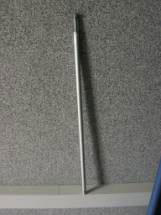  
Finally screw the strip in the connection
between the glider frame and the hang strap. |
| Step
4 - Putting the control |
|
 |
 |
| It has 2 DOF (Degrees of
Freedom) it does not support torcion |
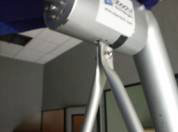
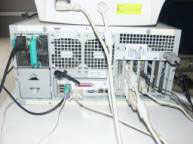
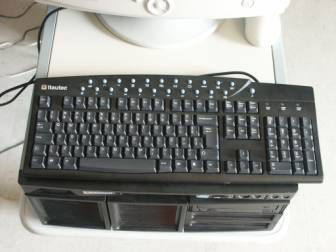
| Step 5 - Connecting
the computer in the hang-glider base |
 |
 |
| You have to connect one power
cord, one video cable and audio connector for the HMD. |
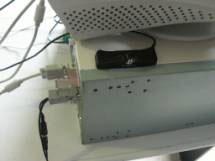
Step 6. Connecting
the devices
in the hang-glider |
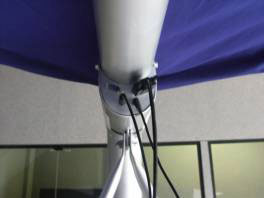 |
| In the glider frame there are three connectors
for the HMD |
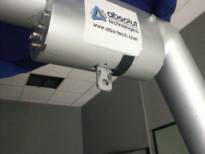
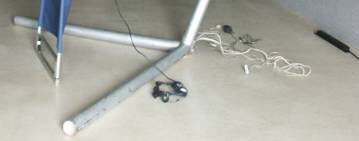
| Step 7. Positioning
the fans |
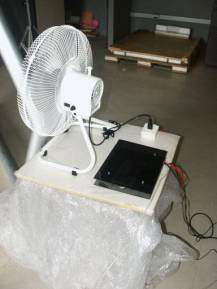 |
| The electrical fan and its control must
be in front of the hang-glider |
| Step 8. Powering
the system |
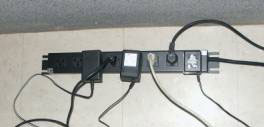 |
| The system needs 6 outlets for power.
United States outlet standard used |
| Step
9. Start the computer |
 |
 |
| Now the system is ready to
use |
Set up procedure for screen version
Unfortunately at this time we have
no access to the screen, and then we are just showing the
steps.
10. Positioning the screen;
11. Positioning the projector;
12. Positioning the speaker;
13. Connecting the projector in the
computer; |
5. Power requirements
There is a table for all the devices and its power use.
| Name |
Voltage |
Watts |
| HMD (Head Mounted Display) |
120 |
16 |
| Computer & Monitor |
100-240 |
600 |
| Electrical Fan |
127 |
200 |
| Fan Controler |
110-240 |
44 |
| Tracker |
120 |
6 |
| Projector |
120-220 |
300 |
Total: ~1166 Watt, but the system was checked and it used
just 4Amp.
6. Operation
One person can control the system. This person can help
change the users and also restart the simulation.
 |
Controls in the keyboard:
O – Turn on and off the clock
R – Restart the simulation (move the avatar to
the start position in the virtual world and restart
the timing) |
 |
Controls in the Tracker:
The intertrax has a button that resets
the user view to forward, it needs to be pressed each
time a new user get in the glider
|
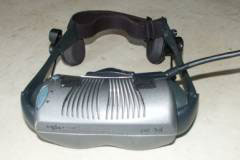 |
Controls in the HMD:
There are three buttons in the HMD |
7. Safety:
The base is very heavy to not turn. It supports heavy people.
It was tested with a 130 Kilos person.
A floor padding can prevent problems in a slippery floor
and scratch the floor because of the glider structure.
8. Restrictions:
It is not recommended to use the system in a open environment,
because the wind simulation could not work.
If screen version used, the light should be dimmer.
|